The 3 bean pasta salad is a masterclass in texture and vibrant color. This isn’t your standard, mushy deli-aisle side dish; it is a meticulously layered, protein-packed powerhouse designed for the modern home cook. By combining the earthy depth of kidney beans, the creamy bite of chickpeas, and the fresh snap of blanched green beans, we create a dish that is as visually stunning as it is delicious.
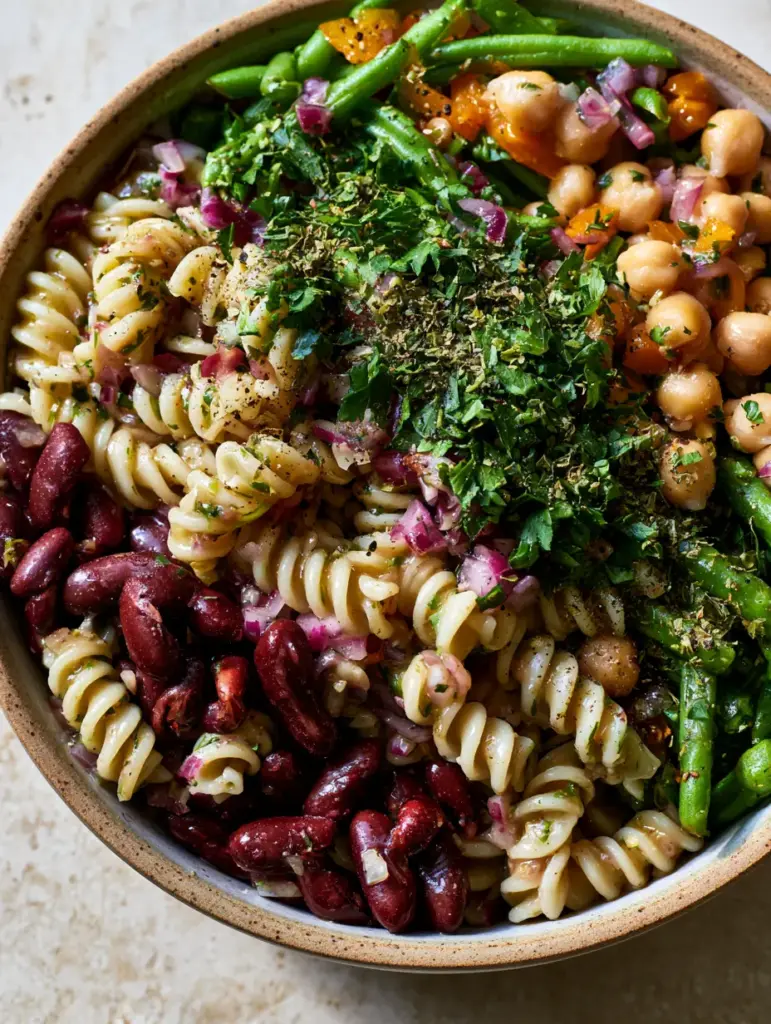
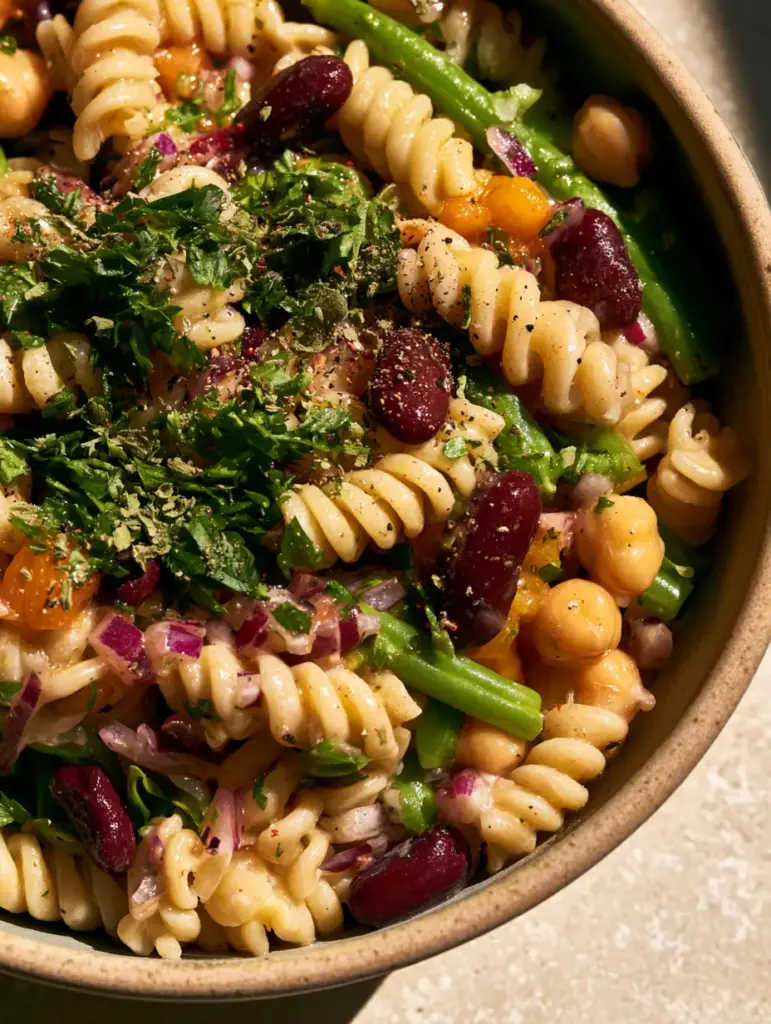
Every element in this recipe serves a visual and culinary purpose. We use rotini pasta specifically for its spiral architecture, which acts as a reservoir for the translucent, herb-flecked Italian dressing. When placed in a rustic matte-finish ceramic bowl, the contrast between the ruby-red onions and the bright-green snap beans creates a professional-grade aesthetic that rivals any high-end food photography.
Whether you are preparing this for a weekend meal prep or a high-stakes potluck, the 3 bean pasta salad offers a refreshing alternative to heavy, mayo-based salads. It stays crisp, glistens under soft morning light, and only gets better as the flavors meld in the refrigerator. Let’s dive into the science and artistry of this quintessential summer staple.
Why This Zesty 3 Bean Pasta Salad Is a Potluck Showstopper
- The Ultimate Texture Trio: By using three distinct types of beans, you achieve a sophisticated mouthfeel ranging from creamy to crisp-tender.
- High-Visibility Vibrancy: The combination of orange bell peppers and dark red kidney beans ensures a pop of color that stands out in any spread.
- Adhesion Science: The zesty Italian dressing is formulated to cling to the rotini spirals without pooling at the bottom of the bowl.
- Visual Micro-Textures: A heavy scattering of fresh flat-leaf parsley and dried oregano provides that “herb-flecked” look seen in professional food styling.
The Anatomy of a Perfect Bean and Pasta Harmony
To achieve the specific look and taste of this 3 bean pasta salad, each ingredient must be selected for its structural integrity. We aren’t just tossing things in a bowl; we are building a flavor profile that balances acidity, salt, and crunch.
Rotini Pasta: 16 oz (454g). Use a high-quality durum wheat pasta that holds its shape. The spirals are essential for capturing the “glazy” finish of the dressing described in our visual blueprint.
Dark Red Kidney Beans: 1 can (15 oz / 425g). These provide a meaty texture and a deep ruby hue. Always rinse them thoroughly to remove excess starch and keep the dressing translucent.
Garbanzo Beans (Chickpeas): 1 can (15 oz / 425g). These offer a nutty flavor and a firm, creamy bite. They act as the “middle ground” between the soft pasta and the crunchy vegetables.
Fresh Green Beans: 8 oz (227g). We use fresh beans cut into 1-inch (2.5cm) segments. Blanching them is non-negotiable to achieve that “bright-green snap” required for forensic visual accuracy.
Orange Bell Pepper: 1 large (approx. 150g). Diced into uniform bits. The orange color provides a warmer, more sophisticated contrast than standard green peppers.
Red Onion: 1/2 medium (approx. 75g). Finely minced. This adds a sharp, piquant note and small flecks of purple-red color throughout the salad.
Zesty Italian Dressing: 1.5 cups (355ml). Choose a dressing with visible herb particles. This creates the “herb-flecked” glisten that defines the salad’s finish.
The Herb and Spice Finish: 1/2 cup (15g) fresh flat-leaf parsley, 1 tsp (1g) dried oregano, 1/2 tsp (1g) cracked black pepper, and a pinch of red pepper flakes. These provide the “micro-texture” that catches the light in a top-down macro shot.
Foundational Salt: 2 tbsp (36g) for the pasta water. Salt is the “invisible ingredient” that seasons the pasta from the inside out, ensuring it isn’t bland against the bold beans.
Essential Equipment for Professional-Grade Prep
To replicate the visual blueprint exactly, you will need a few key tools. A large stockpot is necessary for boiling the rotini and green beans simultaneously. A large colander is essential for rinsing the beans to ensure the dressing stays clear and not cloudy.
A sharp Chef’s knife is required for the finely minced red onion and the precise dicing of the orange bell pepper. Finally, for the presentation, a rustic matte-finish ceramic bowl is the ideal vessel to absorb soft shadows and highlight the glistening textures of the 3 bean pasta salad.
Step-by-Step: Mastering the Art of the 3 Bean Pasta Salad
1. Precision Pasta and Green Bean Blanching
Bring a large pot of heavily salted water to a rolling boil. Add 16 oz (454g) of rotini pasta. Five minutes before the pasta reaches al dente, drop in your 8 oz (227g) of fresh green bean segments.
This “par-boiling” technique ensures the green beans are cooked just enough to lose their raw “squeak” while retaining a vibrant, bright-green color. Drain the pasta and beans together and immediately shock them in an ice bath to stop the cooking process and lock in that color.
2. Prepping the Bean and Vegetable Foundation
While the pasta cools, open your cans of kidney beans and chickpeas. Rinse them under cold water for at least 30 seconds until the water runs clear. This is the secret to a “translucent” dressing; any residual bean liquid will make the salad look muddy.
Finely mince the red onion and dice the orange bell pepper into small, uniform pieces. Aim for the size of a chickpea for the pepper bits to ensure a balanced forkful in every bite.
3. The Emulsion and Folding Technique
In a very large mixing bowl, combine the cooled pasta, blanched green beans, kidney beans, chickpeas, diced peppers, and minced onions. Pour over 1.5 cups (355ml) of the zesty Italian dressing.
Use a large silicone spatula to fold the ingredients gently. You want to ensure every spiral of the rotini is coated, creating that “glossy” visual effect. The dressing should be visible but not drowning the ingredients.
4. Layering the Micro-Textures
Transfer the mixture to your matte-finish ceramic bowl. Now, add the finishing touches. Scatter 1/2 cup (15g) of freshly chopped flat-leaf parsley and 1 tsp (1g) of dried oregano flakes over the top.
Finish with a generous dusting of cracked black pepper and a hint of red pepper flakes. This specific layering ensures the herbs stay on the surface for maximum visual impact, creating a “top-down macro” quality appearance.
Expert Tips for Success
- Temperature Control: Never dress your pasta while it is hot. Hot pasta absorbs the dressing too quickly, leaving the salad looking dry rather than glistening.
- The Acid Refresh: If making this 3 bean pasta salad a day in advance, hold back 1/4 cup (60ml) of dressing to toss in just before serving to restore the shine.
- Uniformity Matters: For the best aesthetic, try to keep your vegetable dice consistent with the size of the chickpeas and kidney beans.
- The Rinse Rule: Rinsing the canned beans is the most important step for maintaining a clean, professional look.
Safe Storage and Refreshing Your Leftovers
The 3 bean pasta salad is an excellent candidate for meal prep because the flavors actually improve over time. Store it in an airtight glass container in the refrigerator for up to 5 days. We do not recommend freezing this salad, as the texture of the pasta and fresh green beans will become unpleasantly soft upon thawing.
To refresh leftovers, give the salad a quick toss. If the pasta has soaked up all the moisture, a small drizzle of extra virgin olive oil or a splash of red wine vinegar will bring back that translucent glow. Always serve cold or at room temperature for the best experience.
Perfect Pairings: What to Serve with This Vibrant Salad
This salad is incredibly versatile and works as both a main and a side. If you love this flavor profile, you might also enjoy our black bean pasta salad for a Southwestern twist. It pairs beautifully with grilled chicken, blackened salmon, or as part of a larger spread featuring various pasta salad recipes.
For a themed dinner, serve it alongside an authentic Italian pasta salad to showcase different regional techniques. If you are looking for more vegetable-forward options, try our broccoli cheddar pasta salad to round out your menu. For a unique presentation at parties, consider serving smaller portions in colorful pasta salad cups.
Frequently Asked Questions About Bean-Based Pasta Salads
Yes, it is actually better after 2-4 hours of chilling. However, if making it a day early, reserve a bit of dressing to add right before serving to keep the pasta looking glossy.
Absolutely. While the classic uses kidney, chickpea, and green beans, you can swap in cannellini beans or black beans, though this will change the visual profile of the dish.
Always let the pasta cool completely before adding the dressing. Hot pasta acts like a sponge and absorbs the liquid, which results in a dry salad rather than a glistening one.
Rotini or Fusilli are best because their spiral shape captures the beans and herbs, ensuring every bite is flavorful and visually textured.
If the green beans are tough, they weren’t blanched long enough. Ensure you boil them for 3-5 minutes until crisp-tender and immediately shock them in ice water to stop the cooking.
The Ultimate 3 Bean Pasta Salad Recipe Card
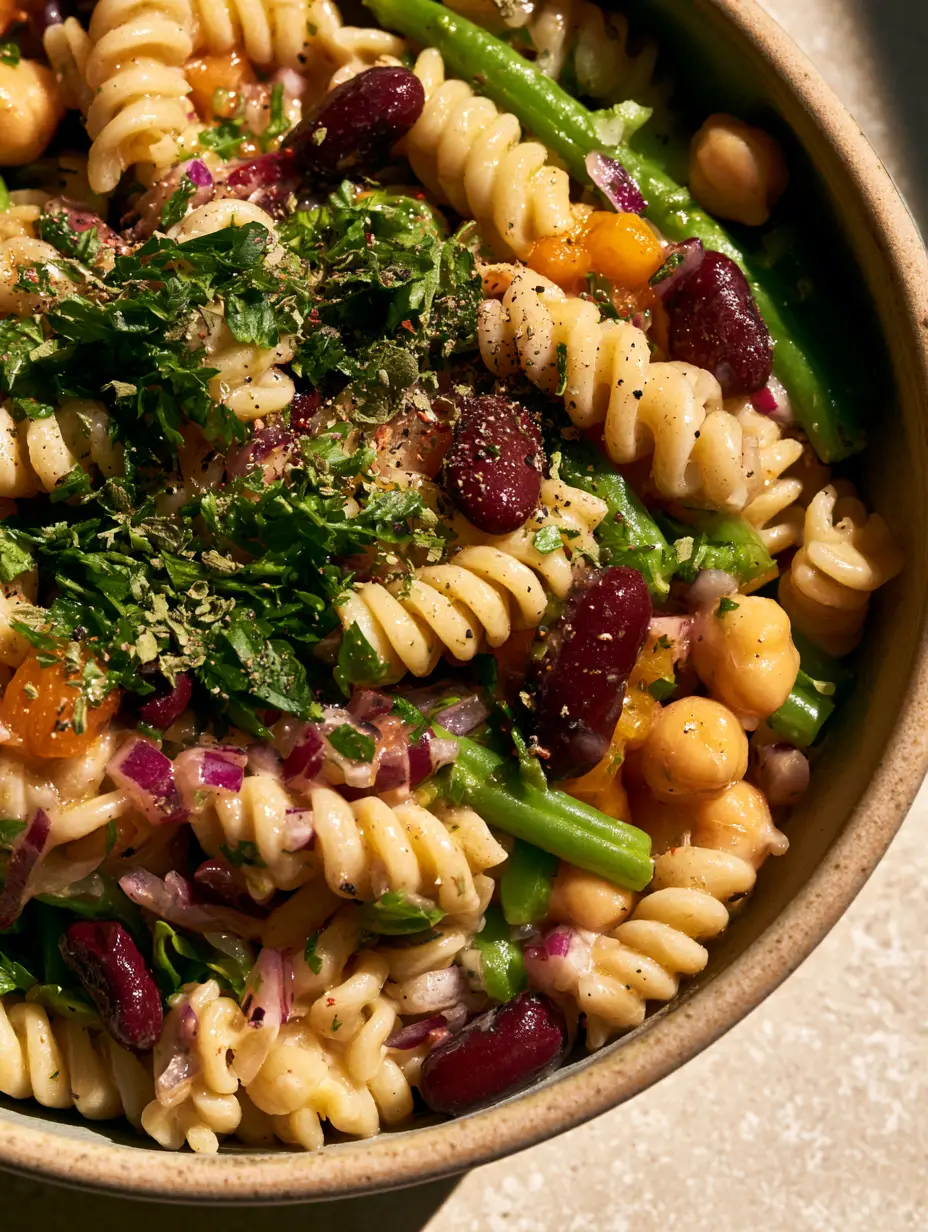
3 Bean Pasta Salad with Zesty Italian Dressing and Crisp Veggies
Ingredients
Equipment
Method
- Cook rotini in salted water. Add green beans for the last 5 minutes of cooking. Drain and shock in an ice bath.
- Rinse kidney beans and chickpeas thoroughly under cold water to ensure a clear dressing.
- In a large bowl, combine pasta, all three beans, peppers, and onions. Toss with Italian dressing until glossy.
- Transfer to a serving bowl and scatter fresh parsley, oregano, black pepper, and red pepper flakes on top.
Notes
Rinse canned beans very well to keep the salad from looking muddy.
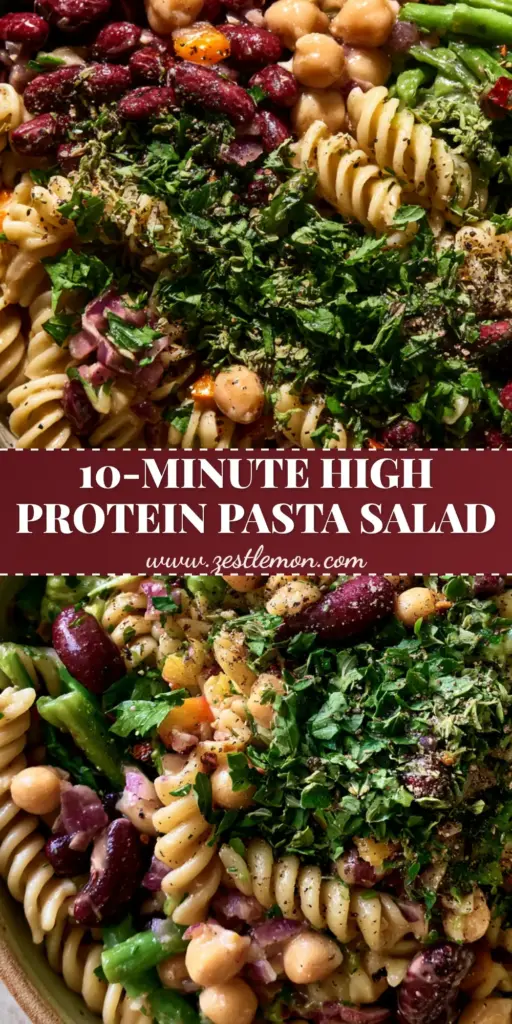
Bring This Vibrant 3 Bean Pasta Salad to Your Table
Creating a 3 bean pasta salad is about more than just mixing ingredients; it’s about balancing textures, colors, and acidity to create a memorable meal. This recipe guarantees a dish that is as satisfying to eat as it is beautiful to look at. From the glossy finish of the zesty dressing to the crunch of the blanched green beans, every bite is a celebration of fresh flavors.
We would love to see your creations! If you make this recipe, please leave a comment below and share your photos with us. Don’t forget to follow and share this recipe to Pinterest so you can save it for your next summer gathering. Happy cooking!