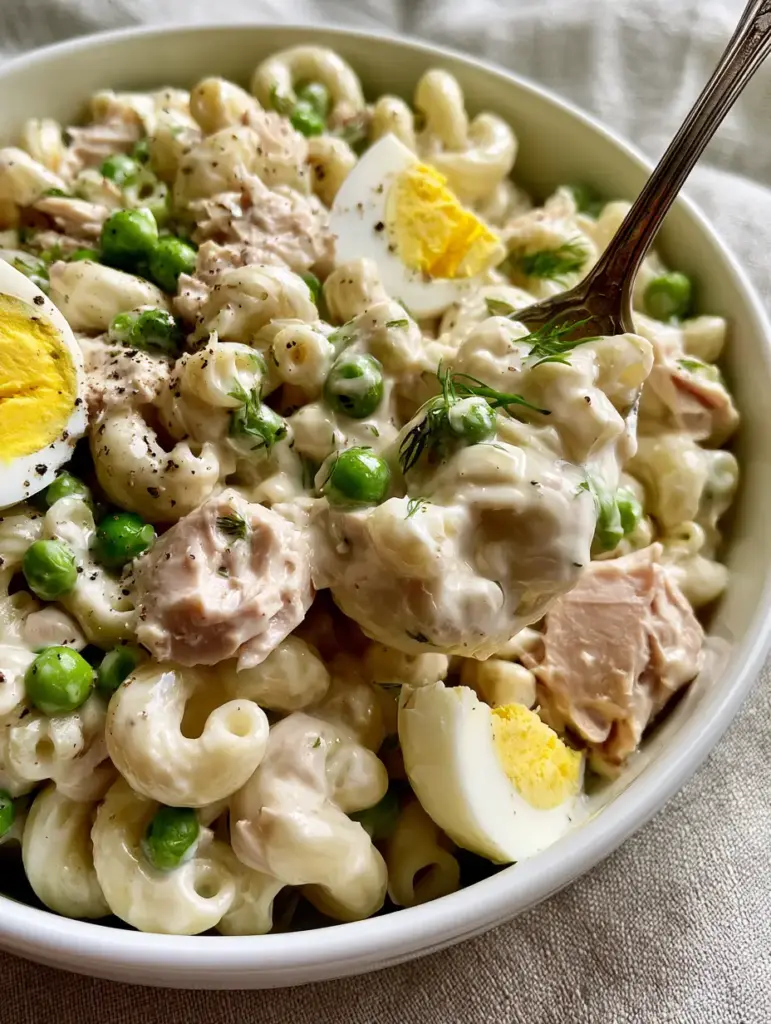
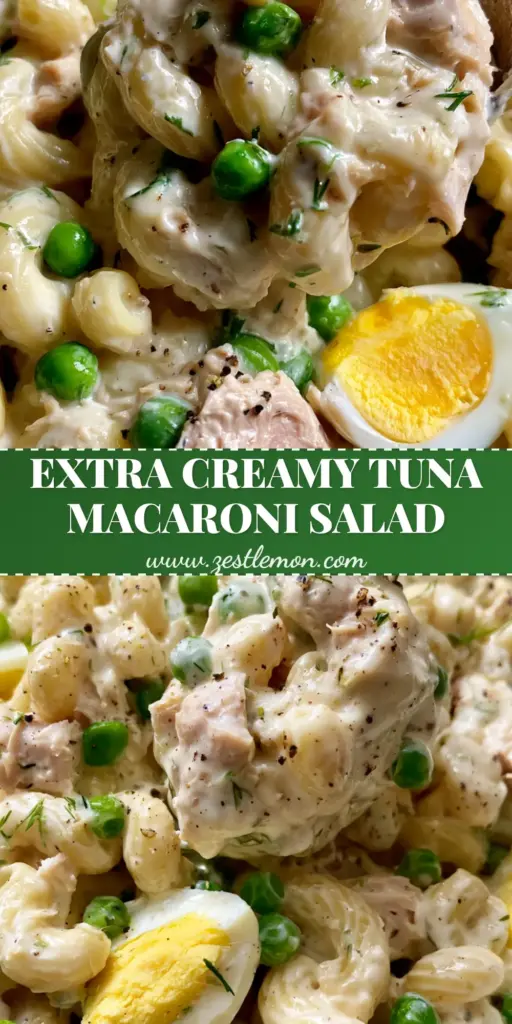
When you think of the quintessential backyard barbecue or a nostalgic weekday lunch, few dishes carry the heavy-hitting comfort of a perfectly executed tuna macaroni salad. This isn’t just a side dish; it is a masterclass in contrasting textures—the snap of emerald green peas against the velvety smoothness of a thick, mayonnaise-based dressing. This recipe focuses on creating a visual and culinary masterpiece that looks just as good as it tastes, featuring glistening al dente pasta and vibrant yellow-and-white hard-boiled egg slices.
The secret to a viral-worthy tuna macaroni salad lies in the structural integrity of the dressing. We aren’t looking for a watery or thin sauce; we are aiming for a heavy, glossy coating that clings to every curve of the elbow macaroni. With the addition of fresh dill sprigs and cracked black pepper, every bite offers a sophisticated herb-forward finish that elevates this humble classic into a gourmet experience.
Why This Creamy Tuna Pasta Salad Strategy Works
- Textural Contrast: We pair soft, al dente pasta with the crisp crunch of minced celery and finely diced red onion for a multi-dimensional mouthfeel.
- Visual Vibrancy: The inclusion of bright emerald green garden peas and pale pink flaked tuna chunks creates a color palette that pops against a white ceramic bowl.
- Optimal Dressing Ratio: By calculating the absorption rate of the pasta, we ensure the dressing remains thick and moist rather than being soaked up by the noodles.
- Balanced Acidity: A foundation of rich mayonnaise is cut with hidden brightness to ensure the flaked tuna tastes fresh and light.
The Components of a Perfectly Glossy Tuna Salad
Achieving the specific visual of an ultra-creamy tuna macaroni salad requires more than just mixing ingredients; it requires high-quality components. Every item in this list has been selected for its ability to hold up under a heavy, velvety sauce.
Elbow Macaroni: The classic choice for a reason, its hollow center captures the thick dressing, ensuring no bite is dry. Use 16 oz (454g) of high-quality semolina pasta for the best structural results.
Thick Mayonnaise: This is the emulsified backbone of our dressing. You will need 1.5 cups (350ml) of full-fat mayonnaise to achieve that glistening, moist look seen in professional food photography.
Flaked Tuna Chunks: Seek out solid white albacore packed in water for large, pale pink chunks. You will need two 5 oz (142g) cans, drained thoroughly to prevent the salad from becoming watery.
Hard-Boiled Eggs: Three large eggs provide both richness and a vibrant yellow-and-white visual contrast. We slice these carefully to maintain their integrity within the mix.
Garden Peas: Use 1 cup (150g) of bright green frozen peas, thawed. They provide a “pop” of sweetness and a necessary emerald hue to the dish.
Aromatic Crunch: Half a cup (60g) each of minced celery and finely diced red onion provides the “invisible” flavor foundation that balances the richness of the mayo.
Fresh Herb Finish: 2 tbsp (5g) of fresh dill sprigs and 1 tsp (2g) of cracked black pepper are scattered on top to provide a professional, handheld smartphone photo aesthetic.
Foundational Ingredients for Culinary Science
To bridge the gap between a visual blueprint and a realistic recipe, we must include “invisible” ingredients. A pinch of kosher salt in the pasta water is non-negotiable for seasoning the starch from within. Additionally, a teaspoon of Dijon mustard and a splash of apple cider vinegar (1 tbsp / 15ml) are essential to stabilize the emulsion of the mayo, giving it that “velvety white” appearance that lasts for hours.
If you enjoy the creamy texture of this dish, you might also find yourself craving our creamy crab salad or perhaps a more tropical twist with a Hawaiian macaroni salad. Both utilize similar emulsion techniques to achieve that signature glossy finish.
Essential Kitchen Equipment for Visual Precision
To replicate the “vintage silver spoon” look and the perfectly al dente pasta, you need the right tools. A large stainless steel pot is required for boiling the macaroni in plenty of salted water. A fine-mesh strainer is superior to a standard colander for draining the peas and tuna, ensuring no excess moisture ruins your thick dressing.
A wide, white ceramic bowl is the best vessel for mixing, as it allows you to fold the ingredients without crushing the delicate tuna chunks. Finally, a sharp chef’s knife is mandatory for achieving the “finely diced” red onion and “minced” celery that give the salad its refined, high-end appearance.
Mastering the Step-by-Step Methodology
1. Achieving the Perfect Al Dente Foundation
Bring a large pot of water to a rolling boil and add a generous tablespoon of salt. Cook 1 lb (454g) of elbow macaroni for exactly one minute less than the package instructions. You are looking for a firm, al dente bite that can stand up to the heavy dressing without turning mushy. Once cooked, drain and rinse immediately with cold water to stop the cooking process and remove excess starch.
2. Preparing the Vibrant Add-Ins
While the pasta cools, prepare your hard-boiled eggs. Boil them for 9 minutes for a bright yellow yolk that isn’t chalky or grey. Peel and slice them into rounds. Mince your celery and finely dice the red onion into uniform pieces. Thaw your peas under warm water and pat them completely dry—moisture is the enemy of a thick, glossy sauce.
3. Constructing the Velvety Dressing
In a separate small bowl, whisk together the mayonnaise, Dijon mustard, apple cider vinegar, salt, and half of the cracked black pepper. Whisk until the sauce is completely smooth and glistening. This step ensures that the seasonings are evenly distributed before they hit the pasta, preventing clumps of pepper or salt.
4. The Gentle Fold: Sensory Cues
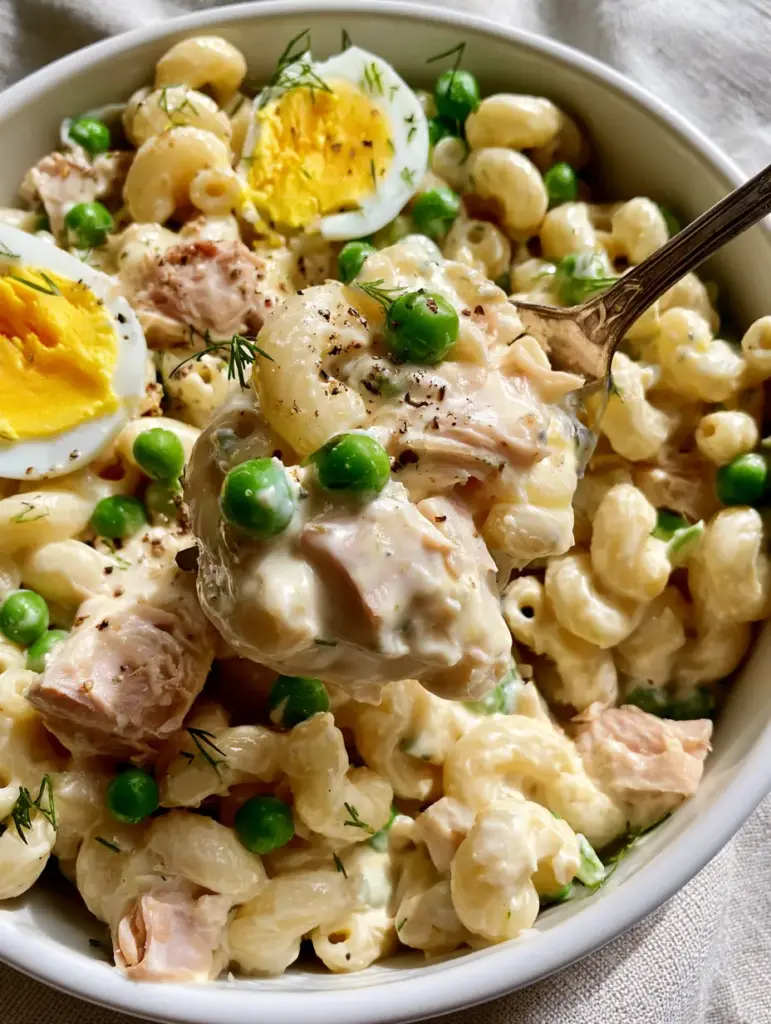
Place the cooled macaroni in your white ceramic bowl. Pour the dressing over the pasta and toss until every noodle is coated in a “heavy, thick scoop” of sauce. Gently fold in the flaked tuna chunks, red onion, celery, and peas. You want the tuna to remain in large, pale pink flakes rather than being shredded into the sauce. Finally, carefully lay the egg slices on top or fold them in very gently to keep the yolks intact.
Expert Tips for a Viral-Worthy Result
- The Cooling Rule: Never mix your mayo dressing with warm pasta. The heat will break the emulsion, causing the oils to separate and leaving you with a greasy rather than creamy salad.
- Pea Preservation: If using frozen peas, ensure they are fully thawed and dried. Any residual ice crystals will melt and thin out your “ultra-creamy” dressing.
- Dill Placement: For the best visual, save half of your fresh dill sprigs to scatter on top just before serving. This provides the “tiny flecks of fresh green” described in the visual blueprint.
- Seasoning Depth: Taste the salad after chilling for 30 minutes. Cold dishes often need a touch more salt and pepper than warm ones to truly sing.
Pairing and Serving Suggestions
This tuna macaroni salad is a versatile powerhouse. It pairs beautifully with grilled proteins or can stand alone as a hearty lunch. If you are planning a large gathering, consider serving it alongside other cold classics like classic macaroni salad or even one of our hearty potato salad recipes.
For a lighter contrast, a cucumber caprese salad provides a refreshing crispness that cleanses the palate between bites of the rich, creamy tuna. If you’re looking for more seafood-inspired sides, our imitation crab salad is another high-RPM favorite that guests always love.
Storage and Make-Ahead Advice
This salad actually improves after a short rest in the refrigerator, allowing the flavors to meld. Store it in an airtight container for up to 3 to 5 days. Note that the pasta will continue to absorb moisture as it sits. If the salad looks a little dry the next day, fold in an extra tablespoon of mayonnaise or a splash of milk to restore that glistening, moist texture.
We do not recommend freezing this tuna macaroni salad. The mayonnaise base will break upon thawing, and the celery will lose its characteristic crunch, resulting in a compromised texture that no longer matches our visual blueprint.
Frequently Asked Questions
While peas provide the classic ’emerald’ look, you can substitute them with blanched asparagus tips or diced cucumber for a similar crunch and color profile.
Yes, but be sure to drain it exceptionally well. Tuna in oil adds more richness, but it can also make the dressing feel slightly heavier. Solid white albacore is recommended for the best ‘pale pink chunk’ visual.
Avoid overcooking! Boil your eggs for exactly 9-10 minutes, then immediately plunge them into an ice bath to stop the sulfur reaction that causes the unsightly green ring around the yolk.
To prevent dry salad, ensure the pasta is completely cooled before mixing. You can also toss the cooled pasta in a tiny bit of olive oil to create a moisture barrier before adding the mayonnaise dressing.
Cold temperatures mute flavors, and pasta continues to absorb salt. Always taste and add a fresh pinch of salt, a squeeze of lemon, or an extra dollop of mayo before serving leftovers.
The Ultimate Creamy Tuna Macaroni Salad Recipe
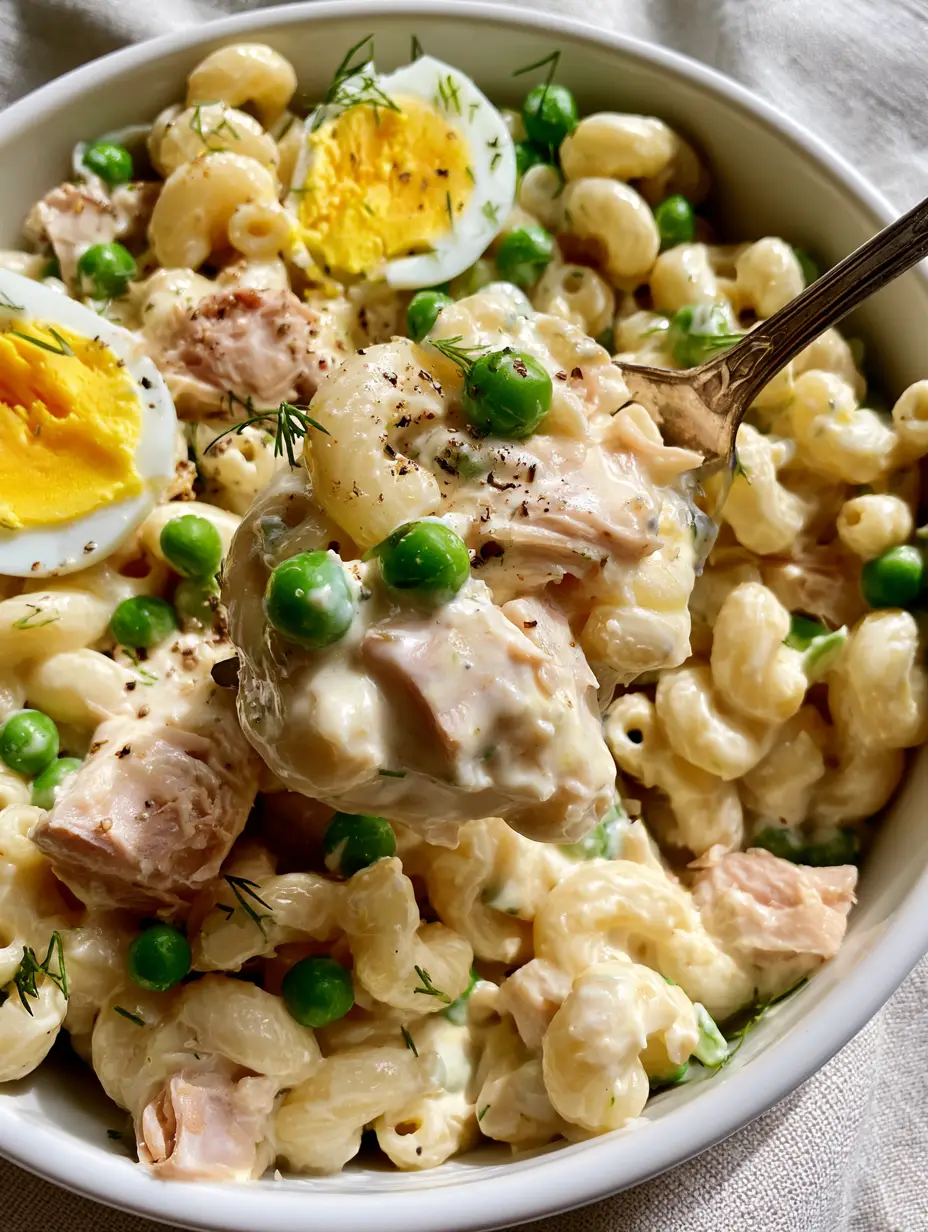
Tuna Macaroni Salad: The Ultimate Ultra-Creamy Comfort Recipe
Ingredients
Equipment
Method
- Boil the elbow macaroni in salted water until al dente. Drain and rinse with cold water immediately.
- Hard boil the eggs, peel, and slice. Dice the red onion and mince the celery finely.
- In a small bowl, whisk together the mayonnaise, mustard, and vinegar until smooth and glossy.
- Combine pasta, tuna, peas, onion, and celery in a white ceramic bowl. Fold in the dressing until the pasta is coated in a thick, velvety layer.
- Top with sliced eggs, fresh dill sprigs, and cracked black pepper before serving with a vintage silver spoon.
Notes
Drying the peas and tuna thoroughly is the key to preventing a watery dressing.
Join the Zest Lemon Culinary Community
We hope this tuna macaroni salad becomes a staple in your recipe rotation. Its combination of nostalgic flavor and professional-grade texture makes it a winner for any occasion. If you made this recipe, please leave a comment below and let us know how it turned out! Don’t forget to follow us on Pinterest and share your glossy salad photos with the community. Happy cooking!